Rumored Buzz on How to Cut a Laminate Countertop Backsplash Outlet


How to Install Laminate Countertops

How to Install Laminate Countertops - Formica
The Best Strategy To Use For The 10 Best Laminate Countertop Installers Near Me
The exception here is an unbalanced shape where the left side is various from the ideal side. Check this thoroughly, especially if you're reinstalling your old sink and no longer have the original design template (most brand-new sinks come with a full-size template). If you're installing a cast iron enameled sink, you ought to make an even smaller cutout, leaving more counter top to support the weight of the sink.
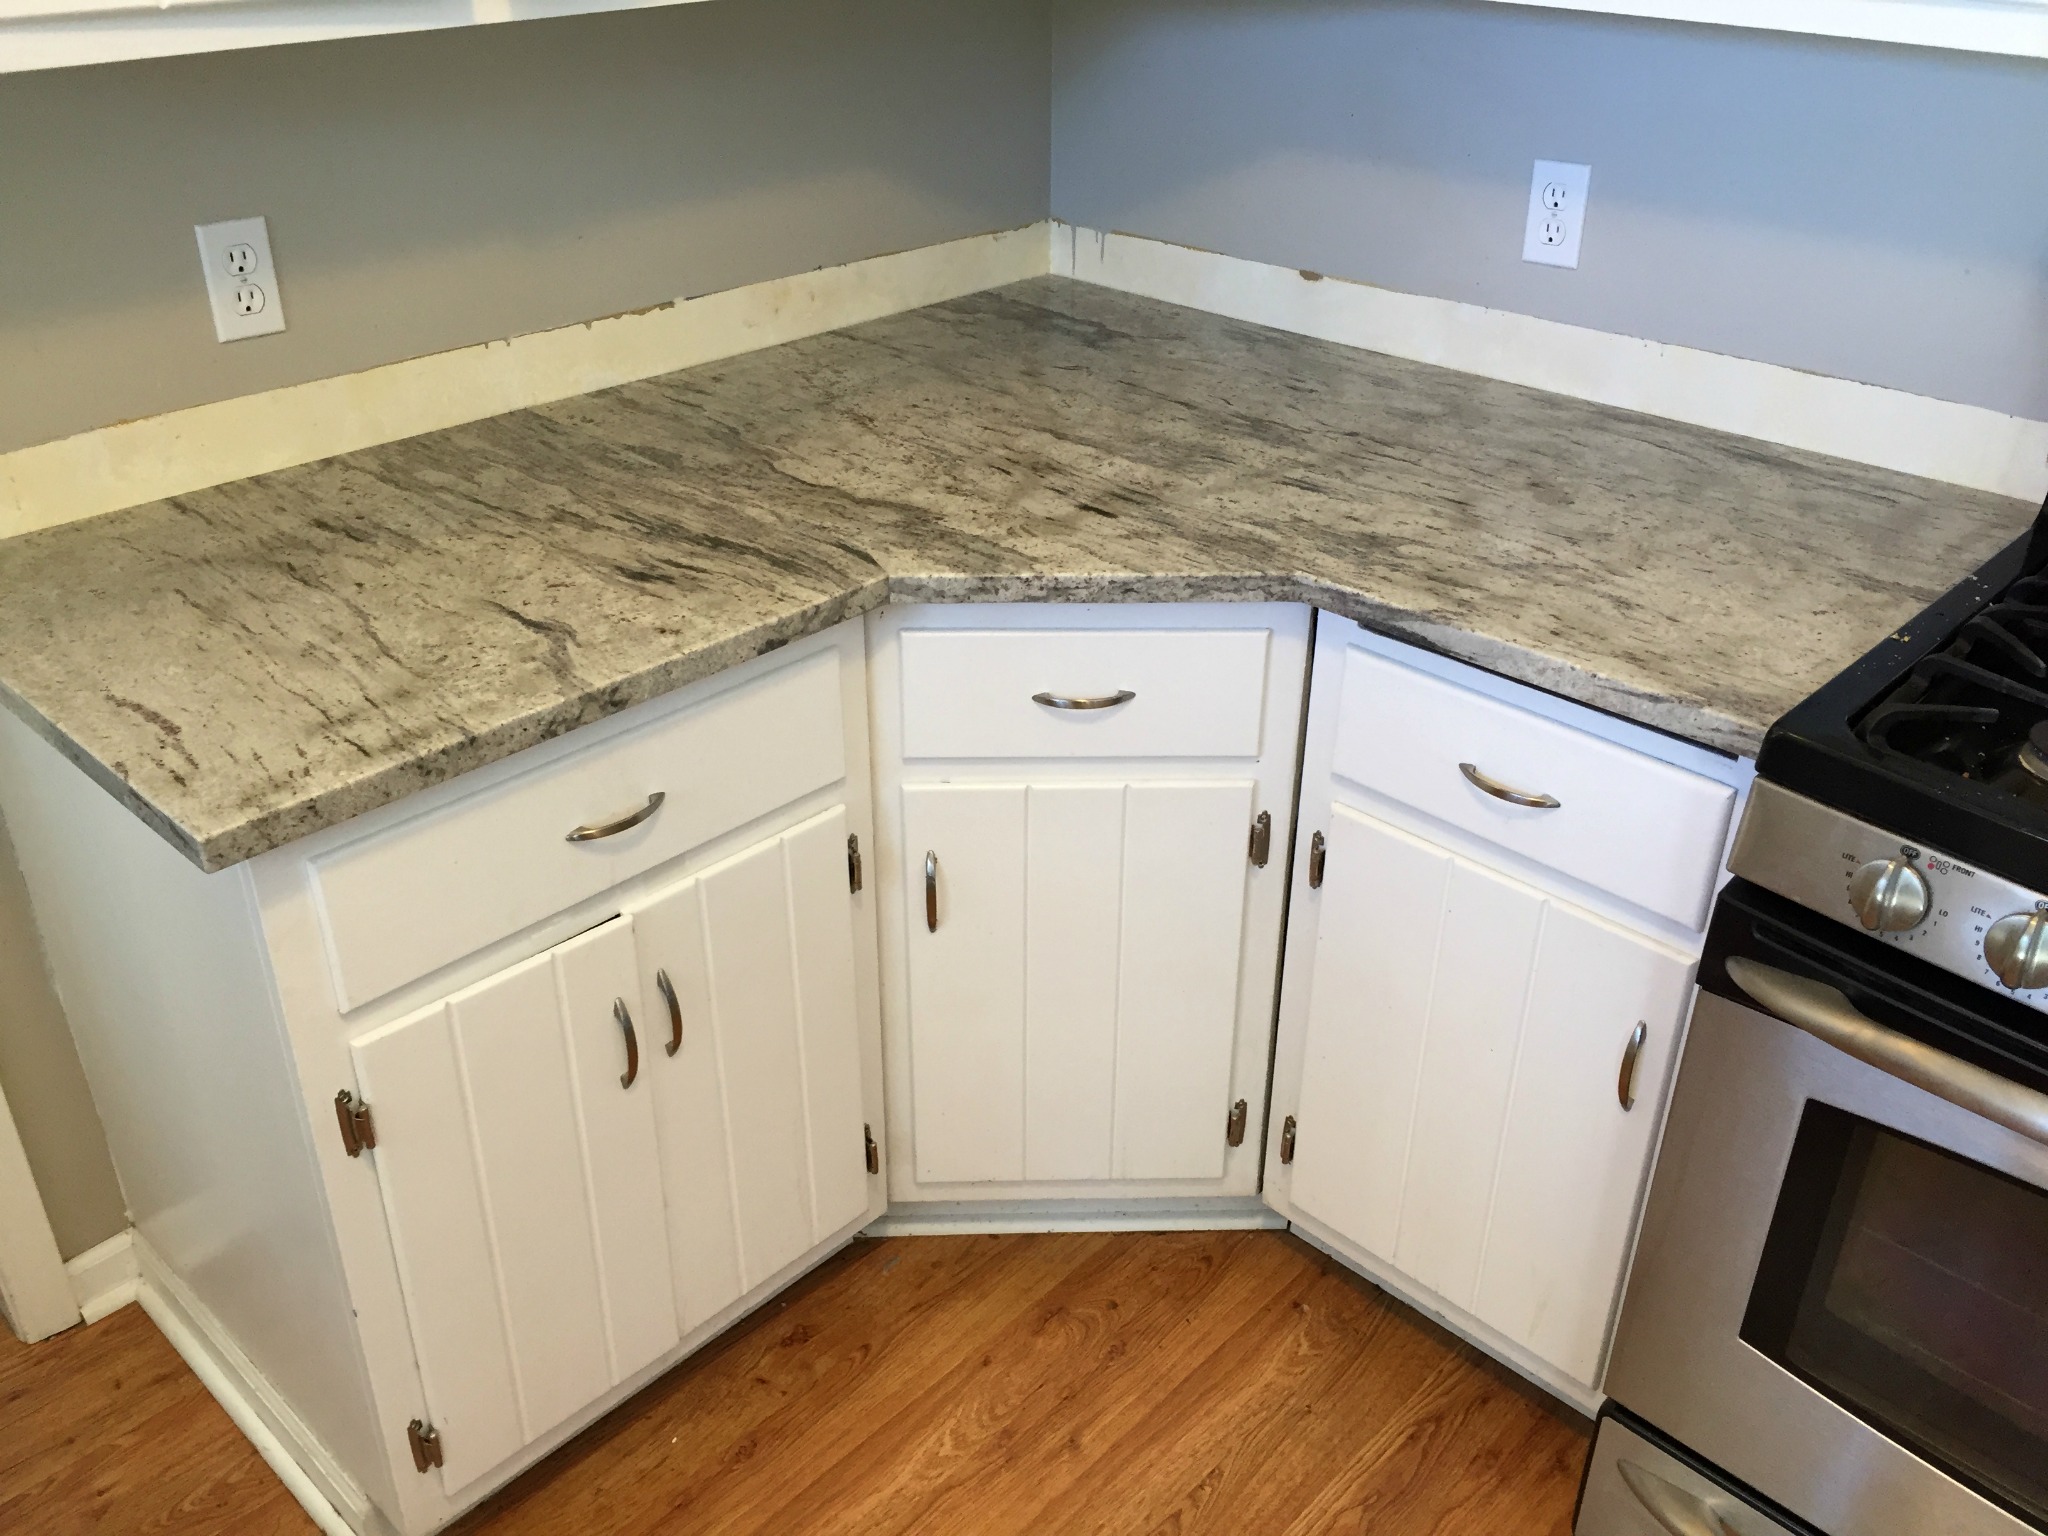
Once you've traced the overview, draw another line inside the first, drill your holes (Photo 9), then turn the countertop over, transfer the lines (Photo 10) and eliminated the top. Scribing your backsplash to the wall is the most important action, Photo 5: Tighten up the miter bolts, Make sure the miter is flush on the top as you tighten up the bolts.
Photo 6: Scribe the backsplash, Set your scribing tool to the width of the widest gap along each wall. Apply masking tape to the top of the backsplash and use your scribe to mark the whole length of each countertop. Scribe to each wall, changing your scribing tool each time for the largest space on that wall.

Custom Formica Laminate Countertops - Kitchen Magic
The DIY Laminate Countertop Installation: What Could Go Wrong? Ideas
Ensure the top is clamped down to your work surface to keep it from "strolling" away from you as you sand. Sand only to your scribe line, keeping the belt sander at 90 degrees or more to the top of the backsplash as revealed. Reposition the top and rescribe and sand if necessary.

If your sink is not in proportion, utilize a design template. Mark around the perimeter, then mark another line 1/2 in. inside the border (1 in. for cast iron) you have actually simply marked. This will be the cutout size. Picture 9: Drill holes inside the design template, Drill 1/2-in. dia. holes about 2 in.
The edges of the holes should simply kiss the within edge of the inner line. Photo 10: Connect the drill holes, Flip the top upside down. Link smartliving home repair services . The lines need to touch the outer circles of the 1/2-in. holes. Use a coffee mug to round the corners. Eliminate the top from the bottom side with a jigsaw.